
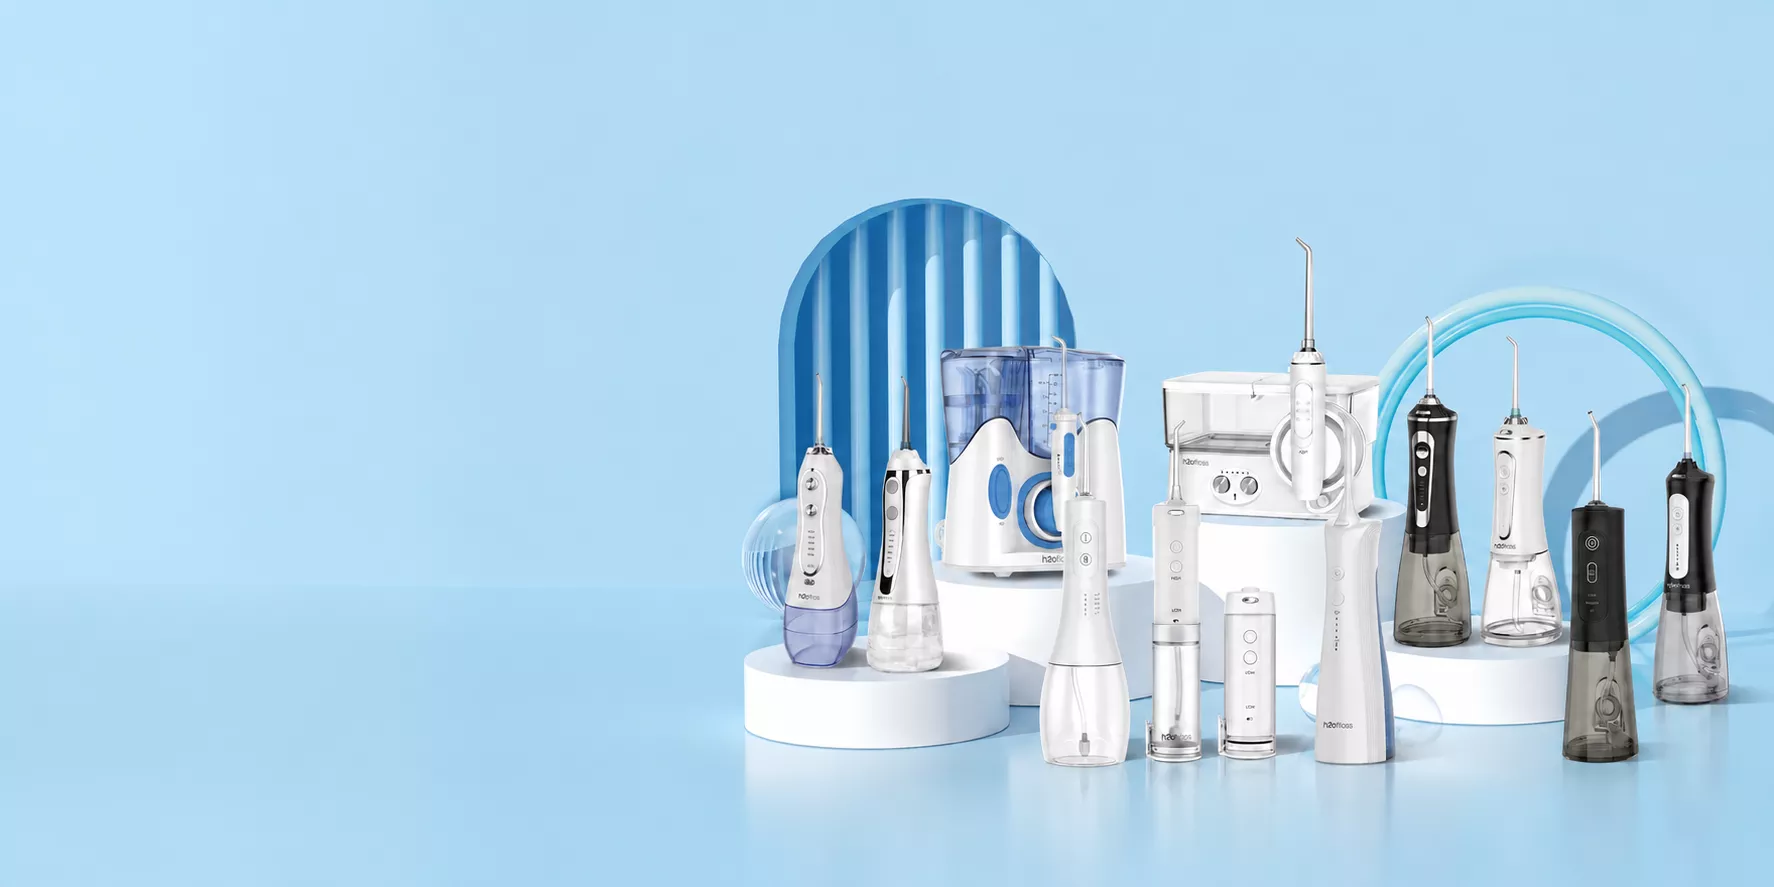
Water flosser pressure is commonly expressed in pounds per square inch (PSI), but there is no single setting suitable for every user. For first-time use, follow the device instructions, begin at the lowest setting and increase only as comfortable.
For oral-care brands and distributors, the useful comparison starts with the full pressure range, the adjustments users can actually make and the instructions supplied with each nozzle. A large maximum PSI figure answers only part of that buying decision.
What Water Flosser PSI Means
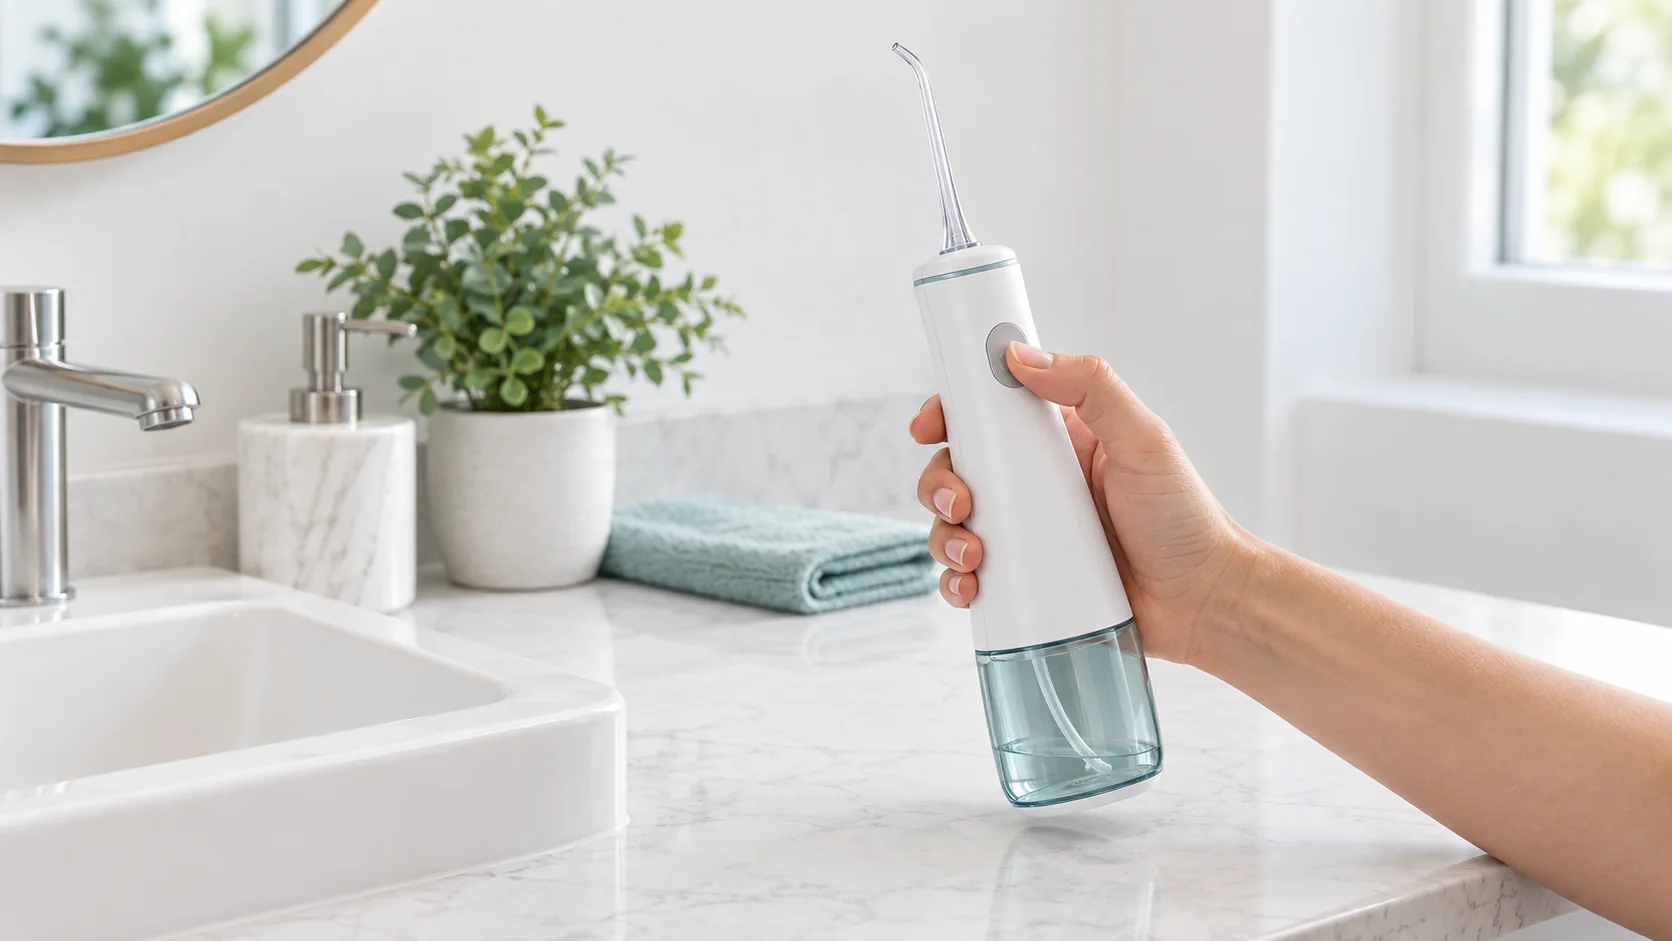
PSI means pounds of force per square inch. A water flosser pressure specification such as 40–110 PSI gives the stated pressure range; it does not tell you which setting a particular person should use.
Pressure, water flow and pulse frequency describe different aspects of a device. Neither a higher pressure number nor more pulses alone establishes better cleaning. If you want to explore how pressure, pulses and water flow work together, read our guide to how a water flosser works before comparing products on a single number.
A pressure rating also needs context. Ask which nozzle and operating mode the figure applies to, and how the supplier measured it. Without that information, a water flosser PSI comparison should be treated as a comparison of published specifications, rather than a ranking of cleaning performance.
Compare Water Flosser Pressure
Compare both ends of the pressure range, then check the settings between them. The minimum tells you where adjustment begins; the maximum tells you its stated upper limit. Neither number establishes comfort or clinical suitability, and the number of modes does not reveal the pressure delivered at every step.
Two BFT specifications illustrate the difference:
| BFT model | Format | Published pressure range |
|---|---|---|
| C101 | Cordless | 40–110 PSI |
| HF-7 | Countertop | 5–110 PSI |
Both list a 110 PSI maximum, while their stated minimums differ. That makes the lower end worth checking during selection; it does not prove that one model is more comfortable or more effective. These are published specifications, not results from a shared test protocol.
When shortlisting from BFT’s water flosser range, request pressure data for the exact configuration and nozzle you intend to sell. Also check the controls: labels such as Soft, Normal and Pulse do not provide a PSI value by themselves.
Modes and intensity levels can be separate controls. For example, Philips’ Power Flosser support page describes cleaning modes separately from a ten-level intensity dial on the listed models. Count the available pressure adjustments, rather than assuming every mode adds another pressure level.
Choosing Pressure Settings
A water flosser with adjustable pressure gives users a way to change intensity, but useful adjustment depends on where the range starts and how the steps feel. Extra settings add little practical choice if the first is unsuitable or the next step feels abrupt.
- For first-time use: start at the lowest setting allowed for the fitted nozzle. Waterpik’s WP-600 series instructions advise this approach and gradual adjustment according to preference or a dental professional’s advice.
- For a gentler option: check the actual minimum and the nozzle instructions. A product labelled “low pressure water flosser” still needs model-specific information; a Soft label is not a universal pressure standard.
- For stronger settings: treat the upper range as an available adjustment, not a daily target. A high pressure water flosser should not be selected solely on the assumption that its maximum gives better results.
Technique remains part of the choice. With a standard jet tip, follow the supplied guidance for angle and movement instead of holding a stronger jet against one spot. Specialty attachments may have different restrictions: Waterpik specifies the lowest setting for its Pik Pocket tip. That instruction belongs to that attachment and should not be generalized into a setting for every nozzle.
If you want a deeper comparison of cleaning methods and daily handling, read our water flosser vs floss comparison when deciding which tools fit your routine or customer range.
For product evaluation, ask whether pressure can be selected before water starts, whether the device remembers its previous setting and how users return to the lowest level. These are controls to verify on the sample, not features to assume from an “adjustable pressure” description.
When Pressure Feels Too High
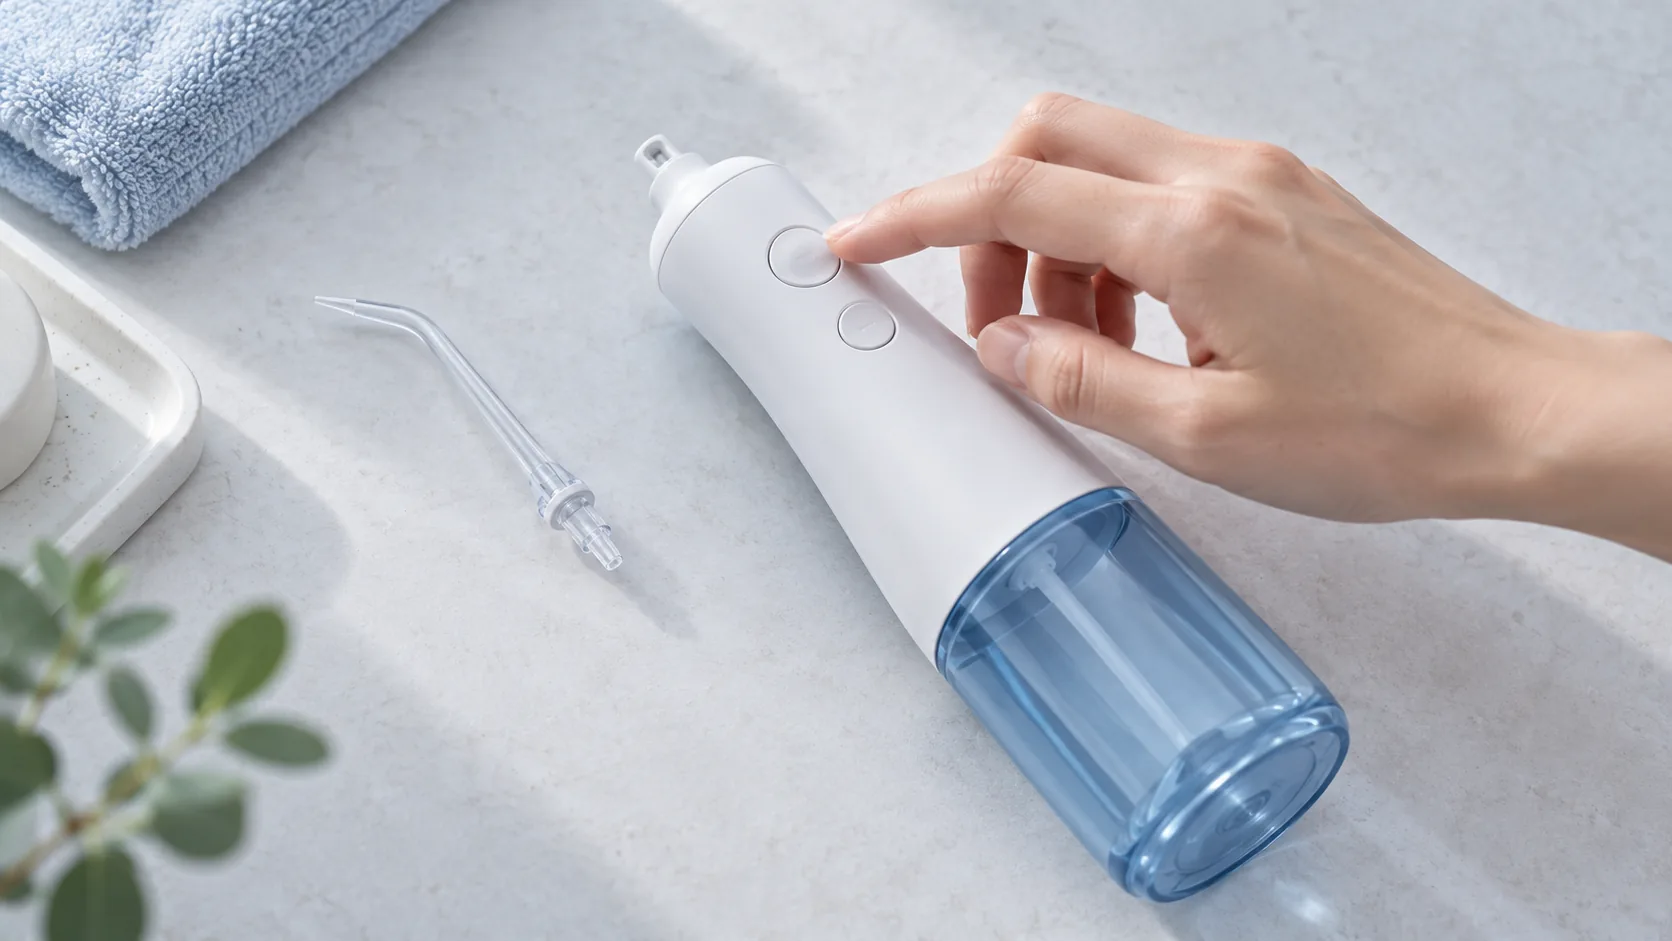
If the jet hurts, stop using it. Do not keep increasing pressure to become accustomed to pain. Philips’ Power Flosser 3000 instructions advise discontinuing use and contacting a physician if discomfort or pain occurs.
If the stream feels stronger than you prefer but causes no pain, check these points before your next use:
- Check the selected setting. A remembered setting may differ from the one you intended. Select the lowest permitted level before starting the water flow.
- Check the fitted nozzle. Use the attachment’s own instructions; a specialized tip may require a particular setting or technique.
- Review positioning. Follow the device’s guidance for the tip’s angle and movement. Avoid substituting higher pressure for careful coverage.
- Get advice if the problem continues. If even the lowest setting is uncomfortable, stop and ask your dental professional about a suitable device and cleaning method.
Bleeding alone cannot tell you that pressure is the cause. The American Dental Association’s bleeding-gums guidance identifies several possible causes and advises discussing regular bleeding with a dentist. Do not treat recurring bleeding as a reason to turn the pressure up.
Pressure Checks for B2B Buyers
When comparing water flosser pressure for a brand or distribution channel, turn the advertised range into a short verification sheet. The checks below are proposed purchasing steps, not a claim that the models above have already been tested this way.
| Check | What to request or record |
|---|---|
| Pressure by setting | A pressure value or range for each level, with its mode and nozzle identified. Do not calculate intermediate levels by dividing the overall range equally. |
| Measurement conditions | Measurement location, peak or average reading, water supply conditions and power or battery condition. Agree a common method before comparing samples. |
| Starting and changing settings | The starting level after shutdown, whether memory is present and whether users can identify and select a lower level before water flows. |
| Nozzle restrictions | Compatible attachments and their allowed settings, supported by the instructions for that exact configuration. |
| Production agreement | Agreed pressure tolerances, sampling method and approved reference sample. Keep packaging claims consistent with the verified configuration. |
For a private-label project, include the intended users, nozzle set and preferred pressure controls in the brief. BFT’s OEM and ODM services provide a route to discuss the configuration and supporting instructions; the exact customization scope needs project-level confirmation.
FAQ
What PSI should a beginner use?
Begin with the device’s lowest setting permitted for the fitted nozzle, rather than a PSI number borrowed from another model. Increase gradually only if comfortable and consistent with the instructions or your dental professional’s advice.
Is 100 PSI too high?
The number alone cannot establish suitability: the device, nozzle, instructions and person using it matter. Do not use 100 PSI as a target; if a setting causes pain, stop and seek advice.
Water flosser pressure too high?
If the stream feels too strong without causing pain, check the nozzle instructions and select the lowest permitted setting. If it hurts or discomfort continues, stop using the device and seek professional advice.
Does more PSI mean better cleaning?
A higher advertised maximum does not, by itself, establish better cleaning. Compare the usable settings and model-specific evidence, and keep pressure figures separate from claims about plaque removal or gum health.
For your next BFT sample request, specify the pressure range, per-level data and startup behavior you want to evaluate. Ask for the matching nozzle instructions alongside the sample so your team can review the controls and customer guidance together.