
Start electric toothbrush design with a product requirements brief that connects the user’s routine to the head, handle, power system and controls. For an existing platform, confirm which requirements it already meets; for a new design, resolve the interfaces and acceptance checks before releasing housing tooling.
A convincing render can help you choose an appearance. A useful prototype must answer a specific question: can someone reach the button, does the selected head work with the drive, or can the proposed assembly meet its charging and cleaning requirements?
1. Define Toothbrush Design Priorities
An electric toothbrush design brief should identify the intended user, use setting, required functions and the checks that will decide whether a prototype is acceptable. Separate essential requirements from optional features, assign an owner to each open decision, and agree what the first prototype needs to prove before commissioning it.
Describe the routine in concrete actions: pick up the handle, attach the head, switch on, change a setting, rinse, store and pack it. A travel concept may need protection against accidental activation; a shared bathroom may make handle identification and storage more relevant. Choose the user task before adding the feature.
Write requirements as observable outcomes. Instead of “easy to use,” ask whether your intended users can switch modes with the grip you expect them to use. Record the test setup and agreed acceptance criteria with your engineering partner. These are project requirements, not universal usability thresholds.
If the main task is adding branding to an established design, start with our OEM and ODM development support to clarify the scope. A change to the drive, housing or charging arrangement needs its own engineering discussion.
2. Match Toothbrush Heads and Drives
Choose the head and drive as a connected assembly. Head geometry, attachment, movement and control settings must work together; selecting a motor from a headline frequency leaves the head interface and actual operating behavior unresolved.
State which head version the prototype will use and how it attaches to the handle. Decide whether replacement-head continuity is essential to the product concept. A distinctive attachment can support a particular design, but it also commits your team to a defined replacement interface.
Compare functional prototypes under agreed conditions: the same head, operating mode, load and battery state. Record the behavior you want to preserve, including motion and noise where relevant. Select the drive waveform for the particular motor and include startup behavior in the check.
- Freeze the critical head-to-handle interface before treating the head and housing drawings as settled.
- Keep any unresolved drive or head change visible in the prototype brief.
- Review power use and control behavior again if the selected combination changes.
3. Shape the Handle and Grip
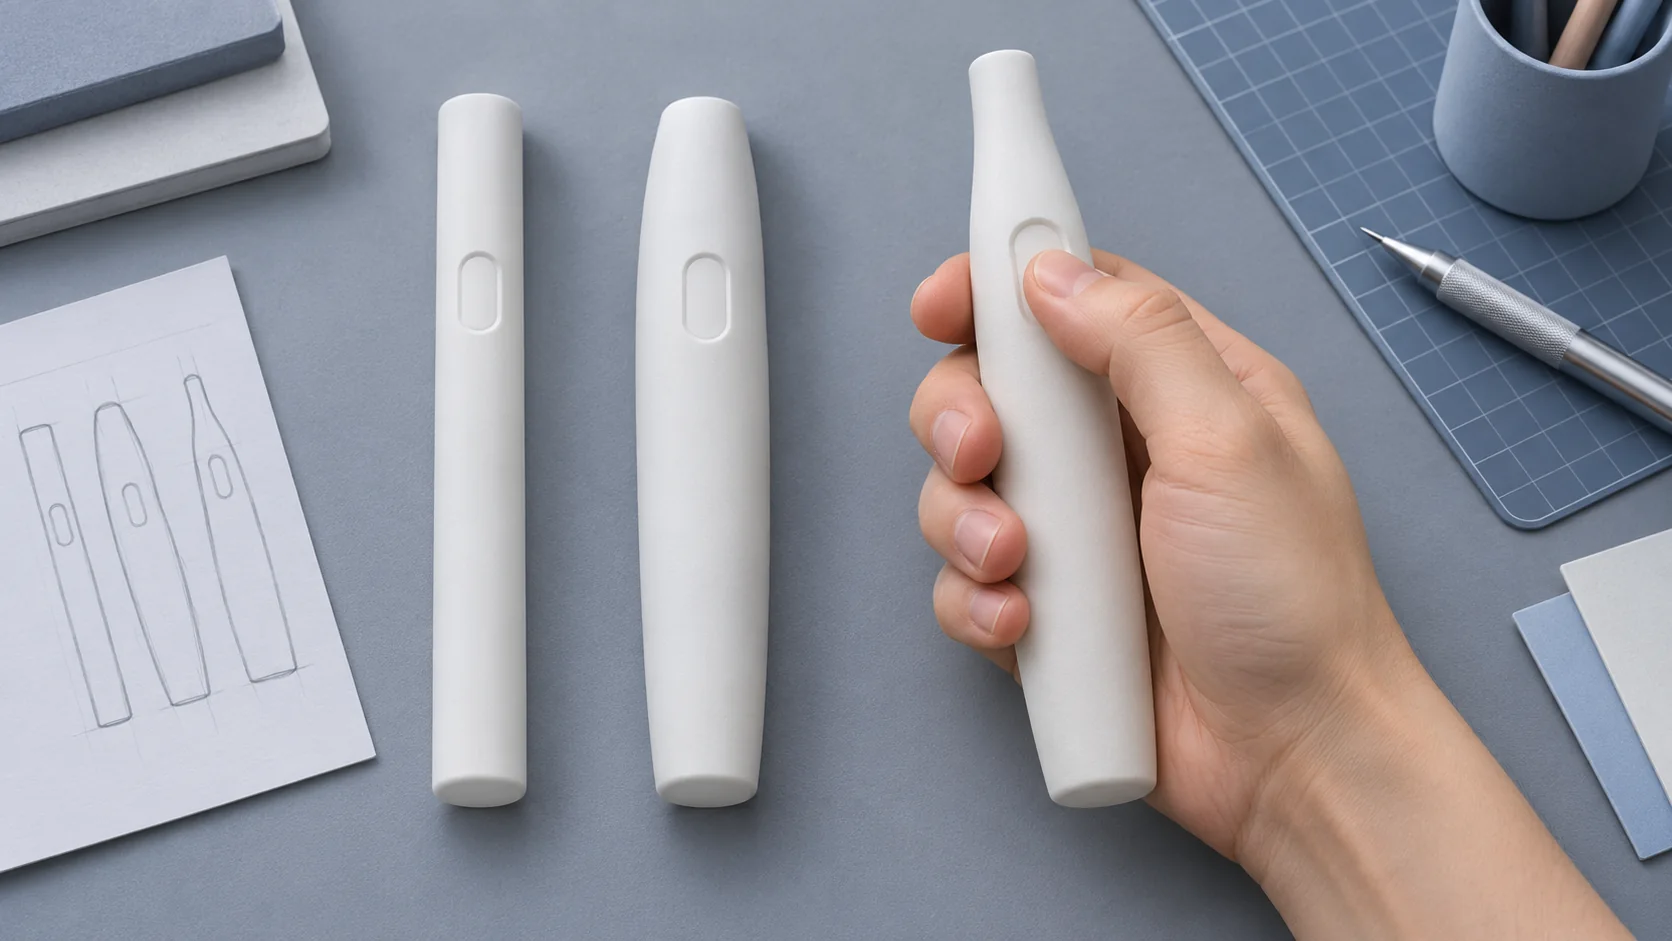
Use simple physical models to compare handle profiles before paying for detailed tooling. Evaluate thumb reach, grip changes and balance with the intended users. A model that looks slim on screen may leave too little usable space for the selected internal assembly.
Separate the questions each model can answer. A foam or printed model can help assess reach and shape; a functional assembly is needed to assess vibration feel and control operation. A comfortable appearance model does not prove the fit or sealing of production parts.
Ask the mechanical team to review the internal layout alongside the external shape. Include component space, assembly access, joints, button location and critical interfaces. Before tooling release, obtain a moldability review of the selected resin and geometry. Abrupt changes in wall thickness can contribute to sink and warp; choose the dimensions for your actual resin and molding process.
4. Set Battery and Charging Targets
Define a use profile before setting a battery-life target. Specify the mode, session length, sessions per day, rest periods and the point at which the test ends. A continuous-running bench result answers a different question from a claim about days between charges.
A larger cell may support a longer operating target, but it can also change the handle layout and charging requirements. Review the cell, protection, charging electronics and enclosure together. Charging limits and temperature controls must follow the selected cell’s requirements and the engineering review; do not copy another model’s charging profile.
Your prototype test record should include:
- The cell, charging interface and compatible input used.
- The head, mode, load and starting charge for runtime checks.
- The charging and temperature conditions, measured result and pass/fail decision.
Resolve the major cell and charging choices while the enclosure layout is still open. If either changes later, identify which fit, runtime and thermal checks need to be repeated before carrying earlier results forward.
5. Plan Sealing and Cleaning
Design for the water exposure you intend to permit and for the cleaning tasks you expect users to perform. Those are related requirements with different checks: an ingress test assesses a specified exposure, while a cleaning trial shows whether users can reach the areas that collect residue.
Review the head connection, shaft area, buttons, housing joints and charging interface. Ask how each interface is sealed, assembled and inspected. Then walk through the proposed cleaning procedure on a representative sample, including removal and refitting of the head where the design permits it.
A smooth exterior may simplify wiping, while a textured grip can help handling but needs its own cleaning assessment. Agree the materials, permitted cleaning method and relevant durability checks with the engineering team. Keep the external power supply or charging accessory within its own care instructions rather than extending the handle’s water claims to it.
6. Map Controls and Feedback
Write a state table before approving the button layout or firmware behavior. Define what happens when a user presses, holds or presses again during operation, charging and low battery. Include how the toothbrush starts after an interruption and whether it remembers a previous setting.
For each feedback cue, name the event and the intended user response. A light that indicates charging needs to be distinguishable from a low-battery warning. If the concept includes pressure feedback, define the behavior to be tested; a sensor label alone does not demonstrate a health benefit.
Keep functions that solve a clear user task. Additional modes increase the interactions and instructions you need to evaluate. Test whether users can identify the active setting and recover from an unintended press before adding more choices.
Release the Prototype Brief
Give each prototype a question to answer and a drawing or configuration revision to match. Use the six rows below as a working brief, filling in actual targets and acceptance criteria with your development partner.
| Design Decision | Requirement to Fill In | Prototype Check |
|---|---|---|
| User and routine | Primary user, setting and essential task | Observe the intended task sequence |
| Head and drive | Head interface, motion and operating conditions | Compare the specified working combination |
| Handle and grip | Envelope, balance and control reach | Evaluate fit models and a functional assembly |
| Battery and charging | Use profile, cell and charging arrangement | Measure runtime, charging and temperature |
| Sealing and cleaning | Permitted exposure and cleaning procedure | Assess ingress and cleaning access separately |
| Controls and feedback | Button actions, states and feedback cues | Walk through use, interruptions and recovery |
Release tooling against controlled drawings and a completed moldability review, with remaining changes explicitly listed. Ask for an itemized tooling quotation tied to that revision, including ownership, sample trials, included modifications and exclusions. Changing a button opening, head interface or battery envelope can affect more than one part; ask the engineering and molding teams to identify the work and repeat checks before accepting the revised cost and schedule.
Keep supplier selection separate from this design brief. Our questions to ask electric toothbrush manufacturers help you evaluate the partner responsible for turning the agreed requirements into production.
Send the target user, destination markets, concept drawings, required functions and open technical questions when you discuss your toothbrush design brief with BFT. Identify whether you want an existing platform adapted or a new design assessed so we can clarify the development scope.
FAQ
Do I Need a New Toothbrush Design?
Use an existing platform when it meets the intended routine and required functions. Consider new development when a necessary head, grip, control or charging requirement cannot be met within the platform’s confirmed customization scope.
What Should the First Prototype Prove?
Choose the highest-impact unresolved question, such as grip reach or head-and-drive behavior, and build the prototype for that check. State which features it represents and which still need a later, more representative assembly.
When Should Toothbrush Tooling Be Released?
Release it after the production-intent geometry, materials, critical interfaces and moldability review are approved for the agreed scope. Keep any open changes explicit and ask how they affect the tool and validation work.
Can a Frozen Design Still Change?
Yes, through a controlled revision that identifies affected parts, software and prior test results. Approve the new cost, schedule and repeat checks before treating the revised configuration as the production baseline.